This week I have mainly been...
1) Panicking about how much calligraphy I want to do (and how little time
there is in which to do it)
5 Months have passed since I first joined the
CLAS Copperplate Special
Interest Group and that can mean only one thing - it's time for another round
of envelope exchanges. Disappointingly, only three of the five envelopes I was
expecting to receive in the last round turned up, so this time I offered to be
in two groups, thereby doubling the number of exciting envelopes that will drop
through the door (I know, I didn't think about the 'twice the amount of work'
aspect at the time!). On a more positive note, one of the recipients of my
envelopes last time was impressed enough to feel the need to write back, so I
am busy preparing another envelope to send in reply :-)
2) Gilding/Making a card for a friend (This bit is slightly more interesting and involves more pictures... )
Next weekend we are off to a friend's birthday party and, not needing much of an excuse, I thought I'd have a go at making her a card. Last time I was at a workshop my tutor showed me a commissioned piece that she had recently finished that was gold leaf on an acrylic wash background. 'Oooh', I thought, 'that looks pretty - I wonder if I could do that'.
 |
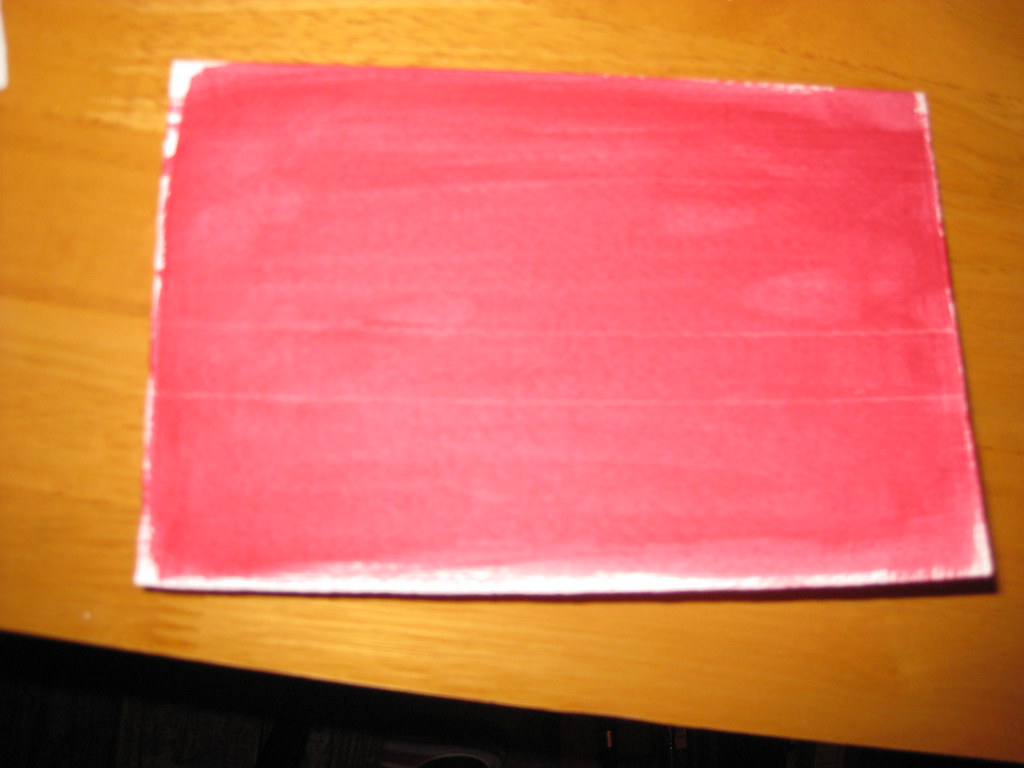
| A very out-of-focus picture of a card with acrylic wash |
My ever wonderful Mum (who is a watercolour artist and veritable mine of information on all things crafty) had previously provided me with some cards of watercolour grade paper with
deckled edges, a book of gold leaf (loose), some size (glue) for sticking the gold leaf to the paper, and a large flat brush for washes. I watered down some crimson acrylic paint and painted a fairly intense wash on two cards (see right) and a piece of watercolour paper for experiments.
I hadn't taped any of these down (mainly because I've lost my masking tape) and to my horror they immediately began to curl up. 'Fallen at the first hurdle', I thought, but actually as they dried they flattened out again - phew!
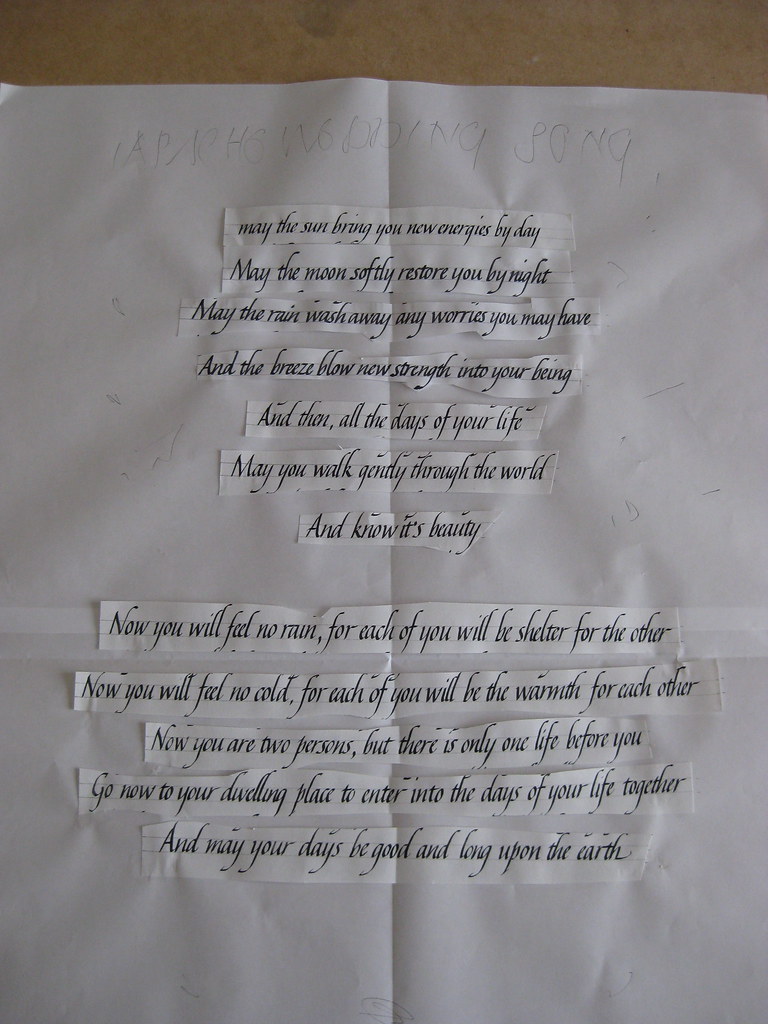
Some experimentation in black ink on layout paper ensued, to get the right nib size and finalise the Italic variation I would use, and after this I ruled up on the test card (using a white pastel pencil - this shows up against the paint, but will also rub out). Initially I just used the plain size in the nib reservoir to write onto the prepared paper, however not only is it a bugger to see once it's dry, but it's also very thin and flowed too quickly out of the nib. I persevered and made a fairly messy attempt at sticking the gold leaf to it, but I learned some useful lessons before attempting one of the cards.
 |
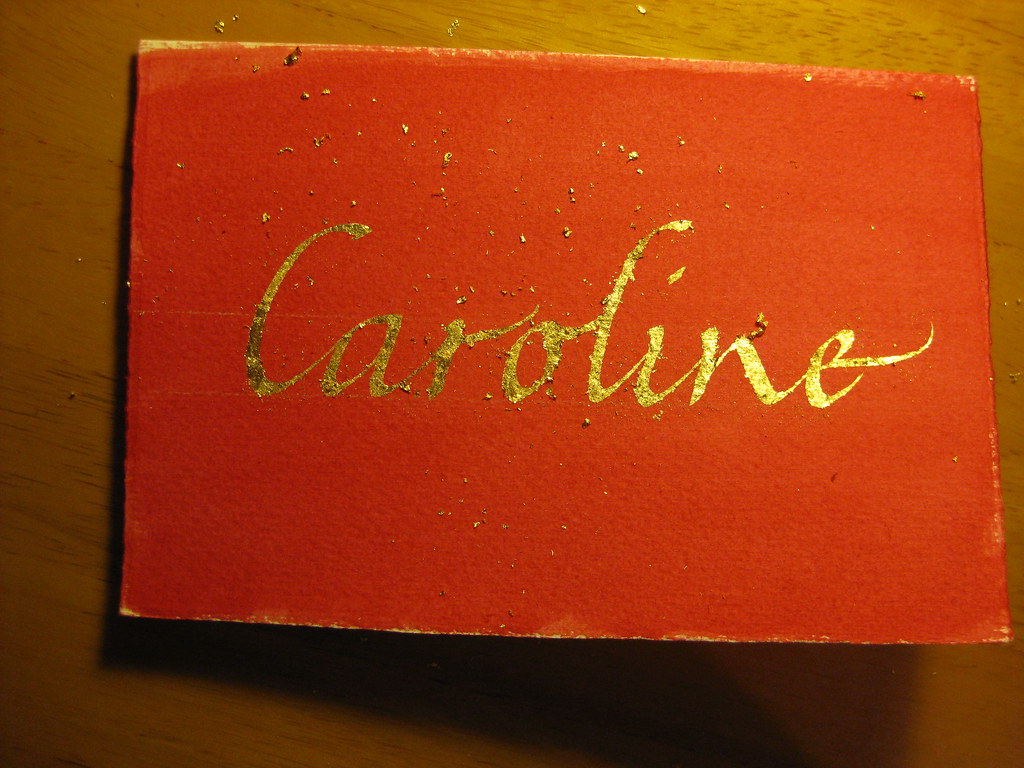
| Immediately after the gold had been applied - gold bits EVERYWHERE! |
The second time around I added some Dr. Marten's Pen White to the size which had the double effect of thickening the liquid and allowing me to see where I'd written. I then used two very small brushes to apply bits of gold leaf to the writing. Two bits of advice: press the leaf on, don't brush; and DON'T BREATHE! - the stuff is lighter than a feather and will get *everywhere*.
 |
| Brushed down, but not birnished |
|
|
After replacing any usable bits of gold leaf back in the book, I used an
old (soft is the key) make-up brush to brush gently over the surface to
get rid of any bits that weren't stuck down. The card then looked like
this:
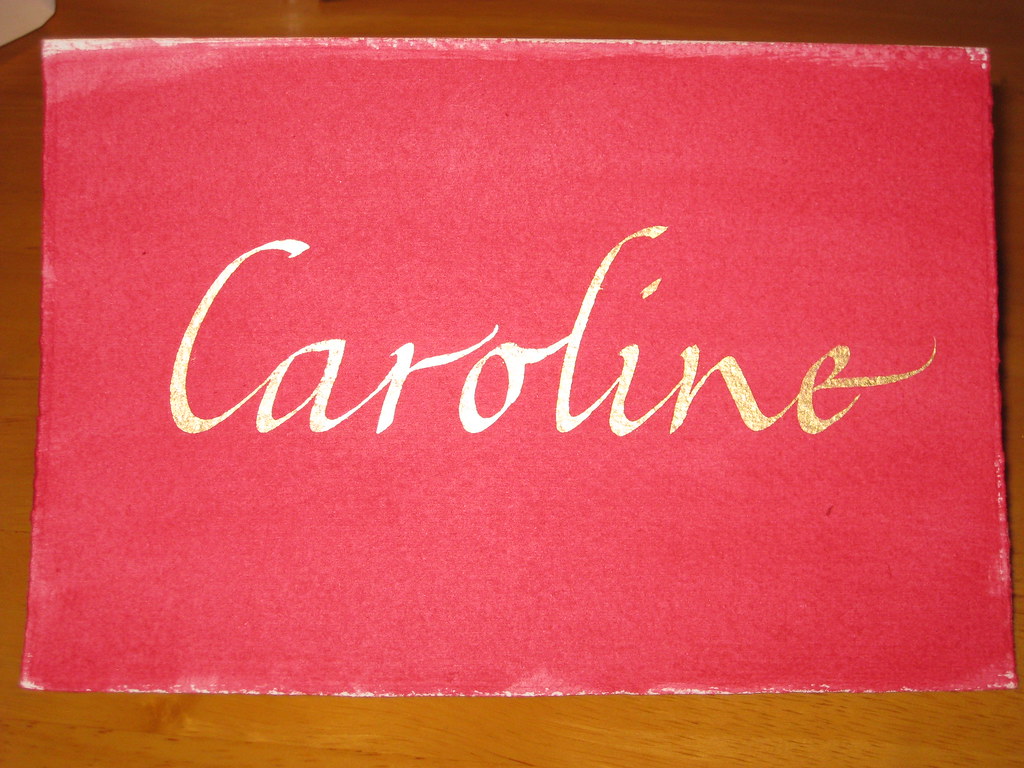
Finally, some patience was required to let the gold and size dry thoroughly before burnishing (rubbing over to bring out the shine) with a soft cloth. There are special tools to do this, and I have heard that a piece of silk works very well too, but having neither of these I plumped for a soft cotton hanky and it seemed to do the trick:
The result is pleasing, no? Anyhow, I hope she likes it - I had great fun doing it, and will definitely be doing more in the future!


