Pages

Saturday, 24 December 2011

Happy Christmas :-)

Gold gouache on black card. Brause 66EF nib.

I hope you all have a lovely Christmas and get to enjoy some time off over the coming days.


And while I had the Gold gouache out...


Tuesday, 13 December 2011

Putting my Copperplate into practice

Wow, it would appear to be quite a long time since my last post - the last few weeks have flown by in a whirl of invitations, envelopes and settling in our new cat!

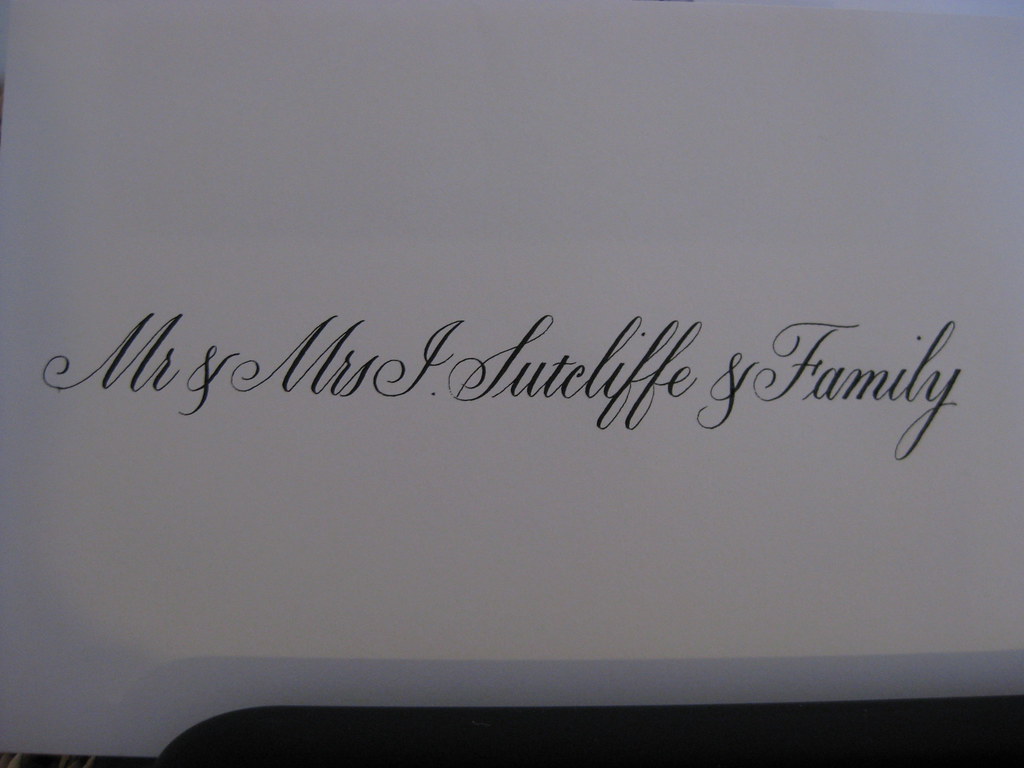
Working through my first full set of  wedding invitations and envelopes has been quite a steep learning curve. Copperplate script is a very popular style when it comes to wedding stationary, whether it's the whole invitation laid out in beautiful swirly writing or just the names added to pre-printed cards; it adds an extra dimension and a touch of something a little bit special. Having the envelopes addressed in the same lets the recipient know that this isn't any ordinary bit of post, and usually grabs their attention from the pile they've picked up from the mat.


Once the most appropriate x-height, nib and ink have been decided upon there are a few more things that need attention: it's important to settle on a particular style of capitals so that the appearance throughout the envelope and card is unified and doesn't look undecided, and it's also important to establish a method for working.


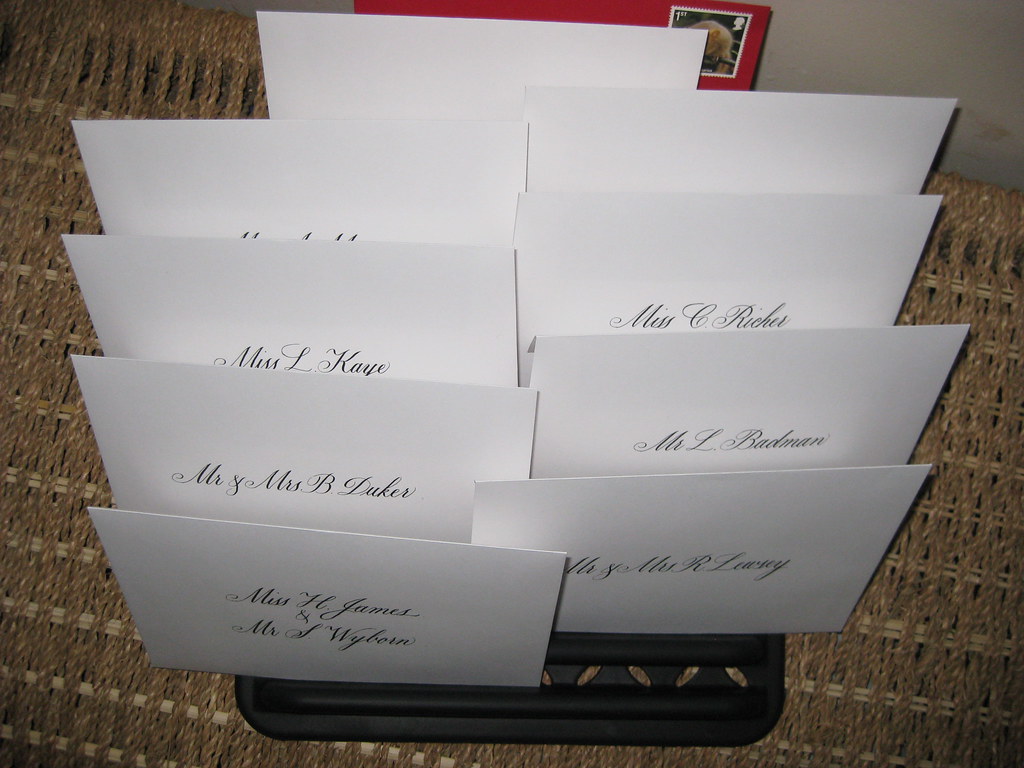
Envelopes drying out in my drying rack


One piece of kit that's essential is some form of envelope drying rack. Now you can by lovely wooden ones from places such as Paperinkarts in the States, which hold 9 envelopes (I've not managed to find a UK stockist of such things), or I chose to use a plastic dish rack which holds 20 envelopes or invitation inserts and was relatively cheap from Amazon! Whatever you decide to use, it's an absolute must in terms of organising your work.


If you haven't thought about it first, it very quickly becomes clear that you need a quick and reliable method of centring names and working out where best to sit them in relation to the text above and below them. The first is easily done with a strip of paper the width of the envelope or invitation, folded centrally and marked off with the start position of each name (working from a practice version written out beforehand). For the second, guidelines marked with an x on the appropriate line help immensely. I'm sure that eventually, when I become practised enough, I'll be able to judge more easily where things start and finish, but for the moment it's safest for me to do a rehearsal version first (on layout paper) to guard against any nasty surprises!


 As for the cat, it's best to try and keep him safely out of the room so that he doesn't walk muddy paw-prints all over your work!

Doesn't he look hard-done-by?

Friday, 28 October 2011

Skewings!


Ferruginous Hawk by contemplicity (CC licensed)
This guy is accipitrine

As a little addendum to my previous post I've just learnt that the technical term for the little bits of gold leaf left over after gilding (as in this picture here) are called skewings. How great is that :-)

Along with two further excellent words I've learnt this week: accipitrine (meaning of the falcon kind; hawk-like); and sybaritic (characterized by or devoted to excessive luxury (that's me!)) I'm feeling rather pleased with myself!

Monday, 24 October 2011

Dealing with my gilt complex (with thanks to Terry Pratchett)

This week I have mainly been...

1) Panicking about how much calligraphy I want to do (and how little time there is in which to do it)

5 Months have passed since I first joined the CLAS Copperplate Special Interest Group and that can mean only one thing - it's time for another round of envelope exchanges. Disappointingly, only three of the five envelopes I was expecting to receive in the last round turned up, so this time I offered to be in two groups, thereby doubling the number of exciting envelopes that will drop through the door (I know, I didn't think about the 'twice the amount of work' aspect at the time!). On a more positive note, one of the recipients of my envelopes last time was impressed enough to feel the need to write back, so I am busy preparing another envelope to send in reply :-)

2) Gilding/Making a card for a friend (This bit is slightly more interesting and involves more pictures... )

Next weekend we are off to a friend's birthday party and, not needing much of an excuse, I thought I'd have a go at making her a card. Last time I was at a workshop my tutor showed me a commissioned piece that she had recently finished that was gold leaf on an acrylic wash background. 'Oooh', I thought, 'that looks pretty - I wonder if I could do that'.

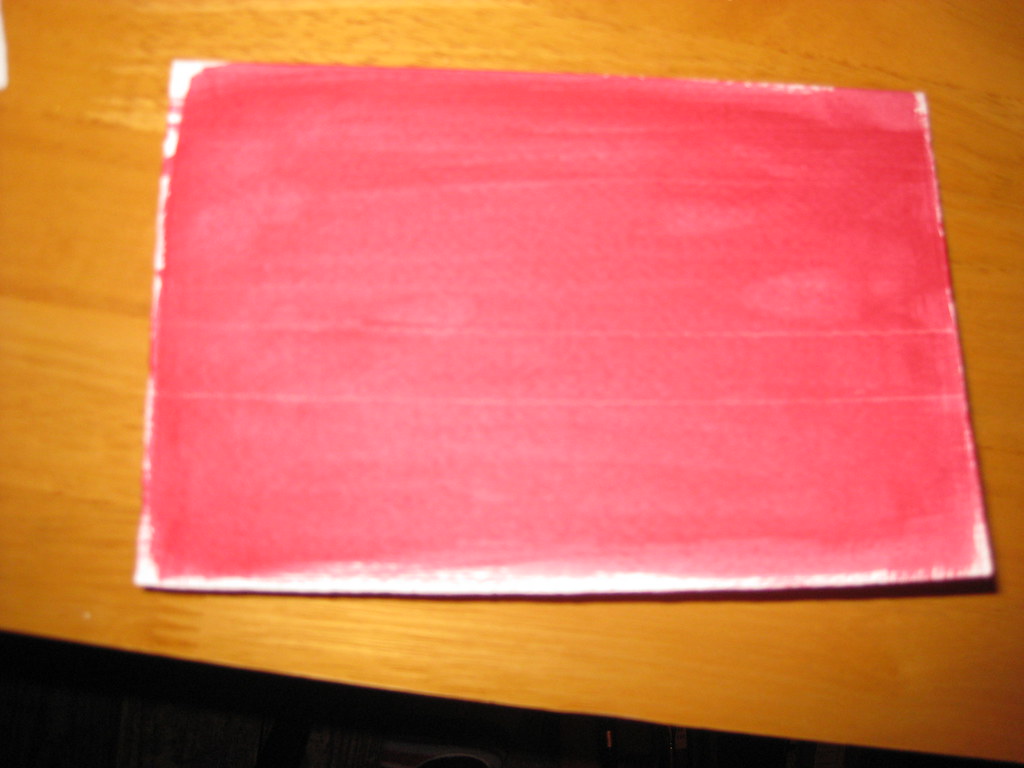
A very out-of-focus picture of a card with acrylic wash
My ever wonderful Mum (who is a watercolour artist and veritable mine of information on all things crafty) had previously provided me with some cards of watercolour grade paper with deckled edges, a book of gold leaf (loose), some size (glue) for sticking the gold leaf to the paper, and a large flat brush for washes. I watered down some crimson acrylic paint and painted a fairly intense wash on two cards (see right) and a piece of watercolour paper for experiments.

I hadn't taped any of these down (mainly because I've lost my masking tape) and to my horror they immediately began to curl up. 'Fallen at the first hurdle', I thought, but actually as they dried they flattened out again - phew!

Some experimentation in black ink on layout paper ensued, to get the right nib size and finalise the Italic variation I would use, and after this I ruled up on the test card (using a white pastel pencil - this shows up against the paint, but will also rub out). Initially I just used the plain size in the nib reservoir to write onto the prepared paper, however not only is it a bugger to see once it's dry, but it's also very thin and flowed too quickly out of the nib. I persevered and made a fairly messy attempt at sticking the gold leaf to it, but I learned some useful lessons before attempting one of the cards.

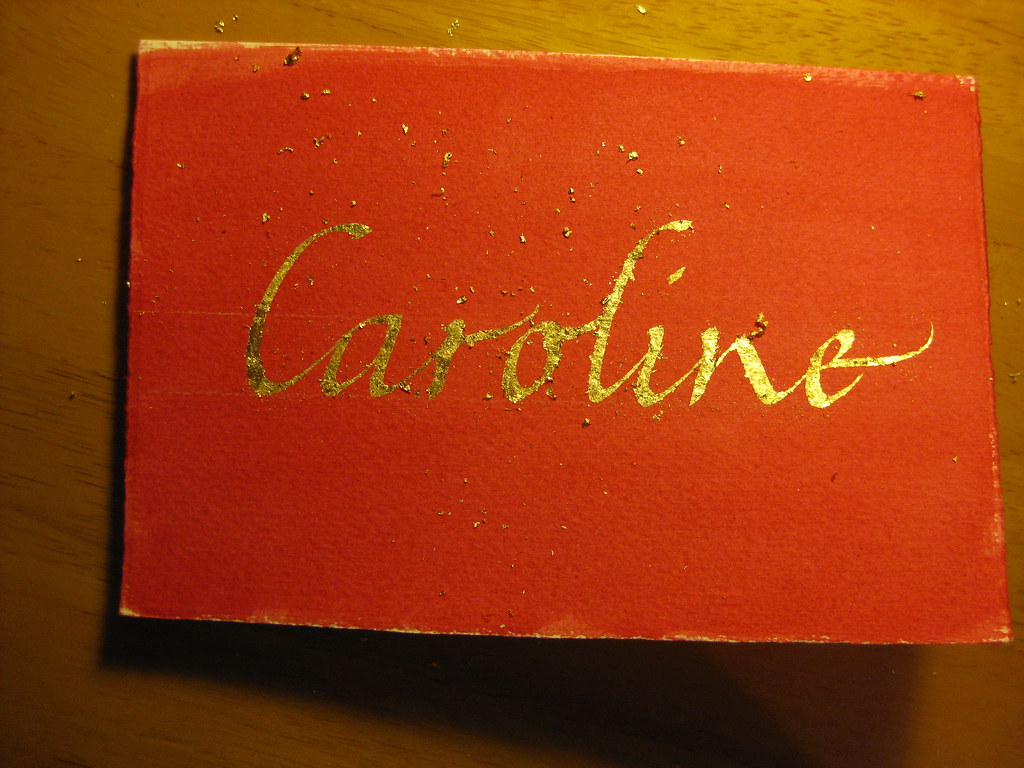
Immediately after the gold had been applied - gold bits EVERYWHERE!

The second time around I added some Dr. Marten's Pen White to the size which had the double effect of thickening the liquid and allowing me to see where I'd written. I then used two very small brushes to apply bits of gold leaf to the writing. Two bits of advice: press the leaf on, don't brush; and DON'T BREATHE! - the stuff is lighter than a feather and will get *everywhere*.


Brushed down, but not birnished


 After replacing any usable bits of gold leaf back in the book, I used an old (soft is the key) make-up brush to brush gently over the surface to get rid of any bits that weren't stuck down. The card then looked like this:


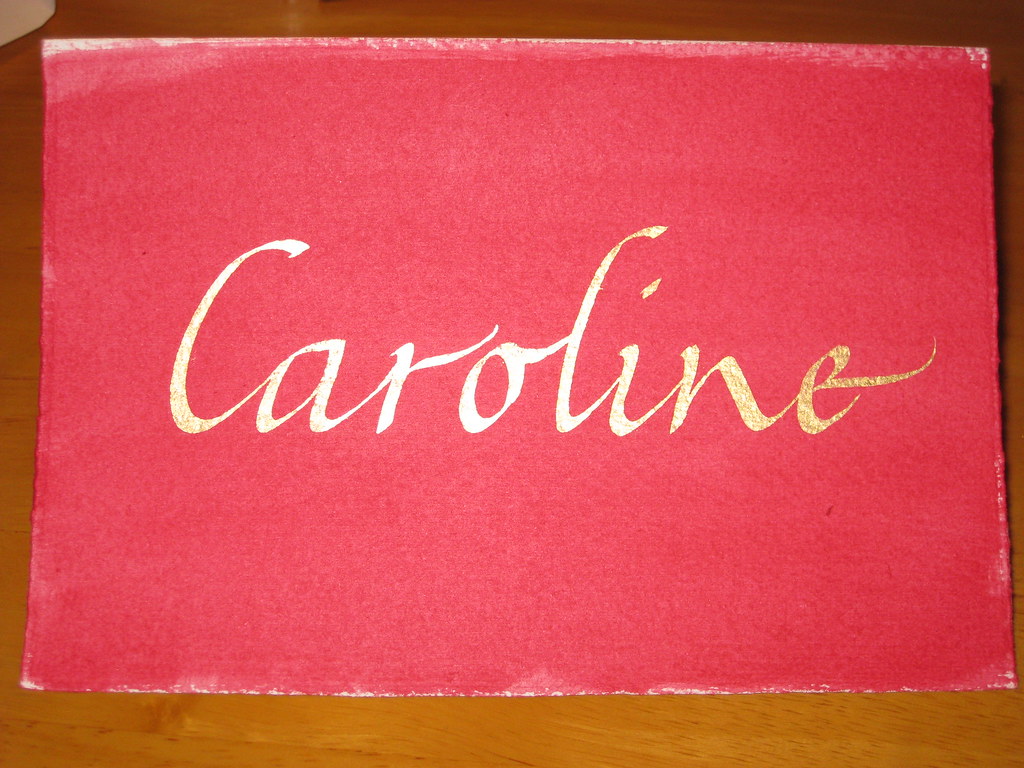
 Finally, some patience was required to let the gold and size dry thoroughly before burnishing (rubbing over to bring out the shine) with a soft cloth. There are special tools to do this, and I have heard that a piece of silk works very well too, but having neither of these I plumped for a soft cotton hanky and it seemed to do the trick:


 The result is pleasing, no? Anyhow, I hope she likes it - I had great fun doing it, and will definitely be doing more in the future!


Wednesday, 12 October 2011

Scissors and glue

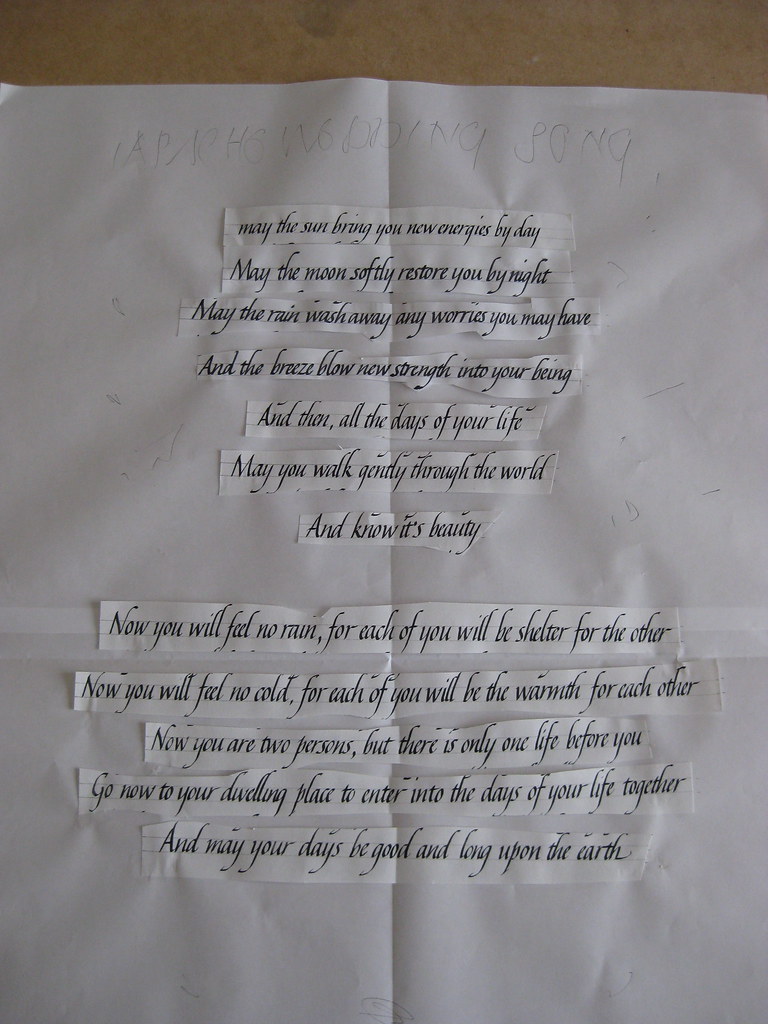
Here's a quick picture of a paste-up I did over the weekend for a piece using the Apache Wedding Blessing:

This is two sheets of A3; landscape and taped together. Written in a No. 3 Mitchell Roundhand nib and black gouache. It's currently laid out at 3 body-widths spacing, but it may end up being 2 1/2, with the second block split to keep the narrowness of the first. I'll also have a play around with the text centred and offset before deciding on the final layout. Quite pleased with how the Italics are coming on though!

Tuesday, 13 September 2011

Capital punishment

Another weekend, another fabulous course with Gaynor Goffe at Flatford Mill. Most of the usual suspects were there, with the addition of a couple of new faces too. This time I thought I'd dedicate the weekend to getting my capitals sorted out. Majascules always seem to get neglected - it's very easy to work hard on perfecting the minuscules of a particular hand, but when you come to write out a quote, poem or name you suddenly realise you have absolutely no idea how to form the capitals properly. Very annoying!

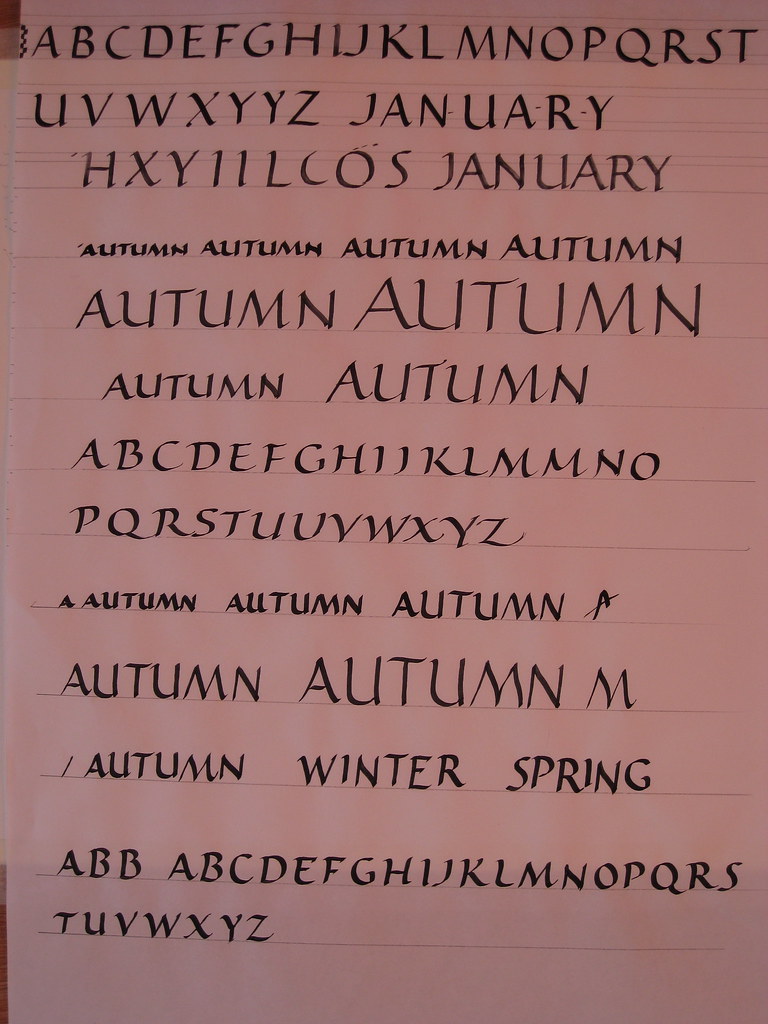
I have, on previous occasions, tried my hand at flourished Italic capitals but found the attempt more than a little frustrating not really knowing anything about the correct proportions or pen angles. This time I jumped in a at the deep end and decided to learn the strict proportions of Roman Capitals, and then branch out into a few variations, including some drawn capitals. A typical sheet from the course looked something like this:

Roman Caps and their variations. WM No.2 nib with black gouache.
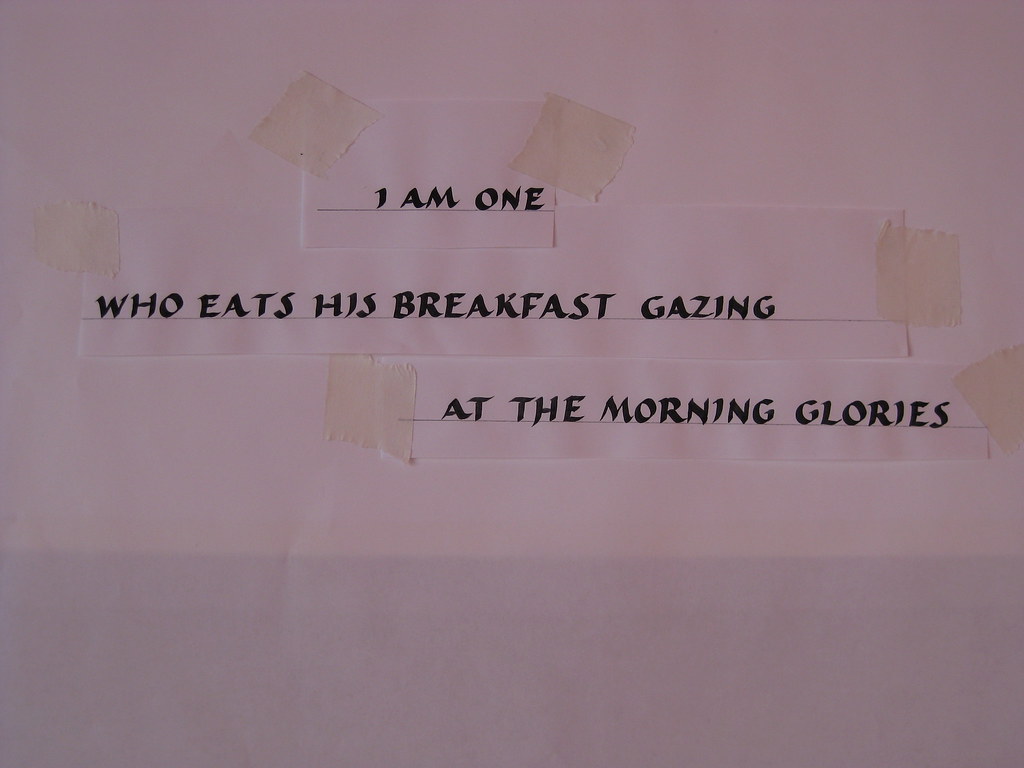
At the top are a few lines of the ordinary Roman caps, followed by some experiments in size (but using the same nib) and then a more relaxed, slightly forward leaning alphabet in the middle and at the bottom. This latter variation really appealed to me - I didn't find it at all taxing to write and it seemed to flow quite naturally so I decided to prepare a small haiku to lay out and write up as a finished piece.


Left is the layout paste-up for the finished piece. Written with a William Mitchell No.2 square cut nib in black gouache this is a slightly squat, more flowing variation of the Roman caps I had been working on. As always, I ruled up for two attempts at a final version.


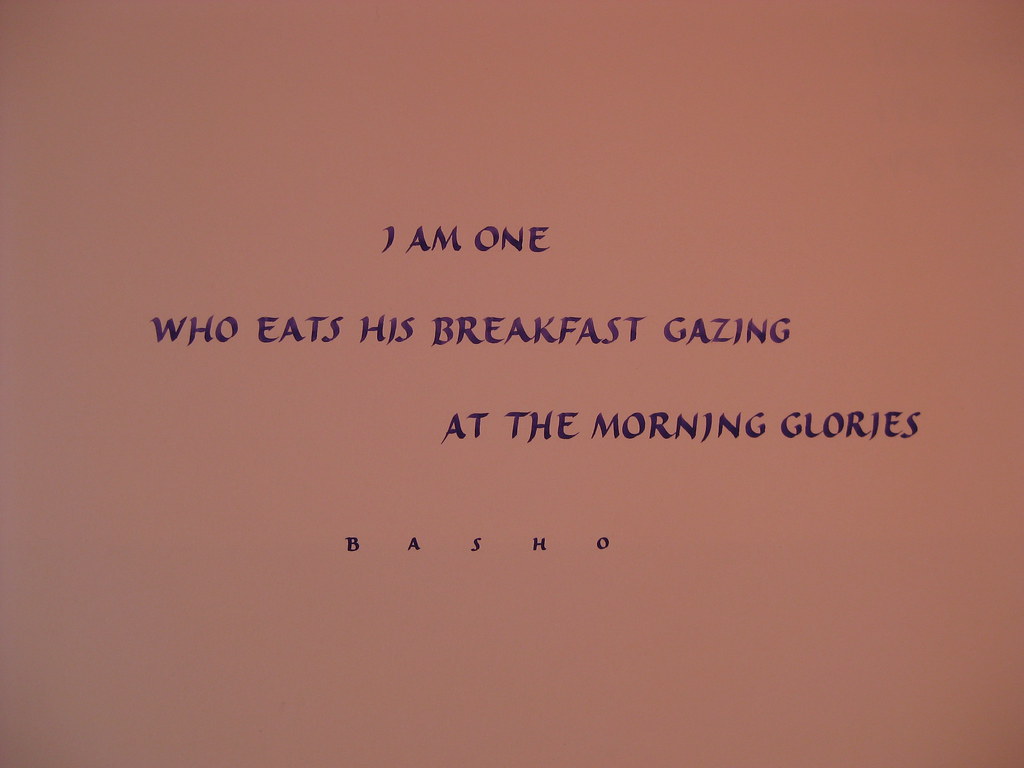
This one I am particularly proud of :
Final piece - No. 2 nib with custom-mixed Purple gouache (W&N designers)

Other work over the weekend included drawn Roman caps with serifs, and formal and flourished Italic caps
            
  Drawn Roman caps with serifs
Drawn Roman caps, final word to be traced down


Final word traced down, outlined with a pointed nib and painted in with purple gouache

Formal and flourished Italic caps practise sheet

Monday, 5 September 2011

Birthday Bonanza

After a long and not-so-hot summer, September hits our family with a quadruple-whammy of birthdays in the first week alone. This can get expensive (admittedly one of the birthdays is my own, so I can't complain too much :-)) but it's also a great time to try and get creative. After spotting one of the envelope exchange jobs I'd done for my most recipient, my sister requested a hand-made card for her own birthday and I was happy to get scribbling with a few experiments.

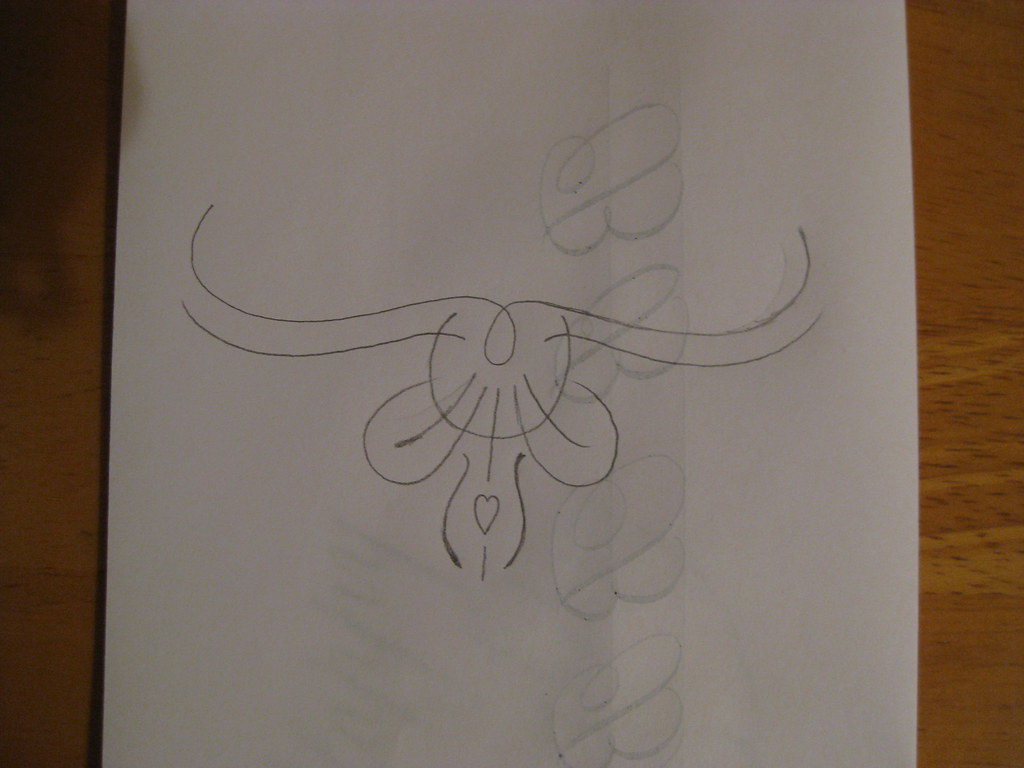
Pencil sketch of the flourish


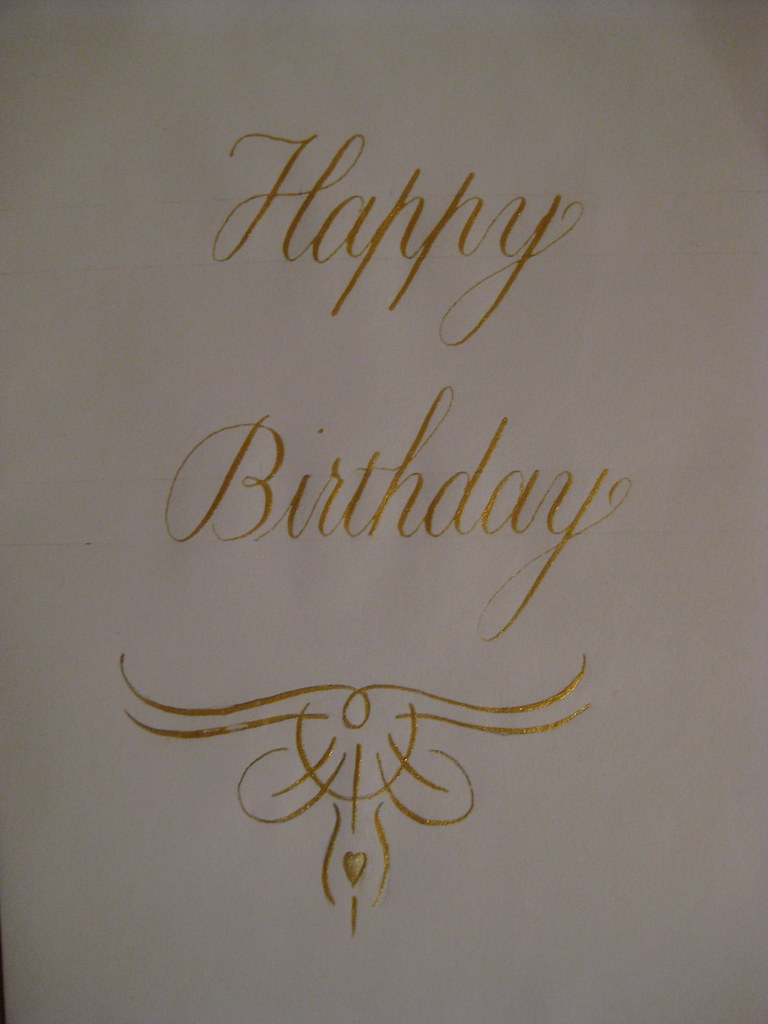
 After a little consideration of my efforts, I settled for a simple 'Happy Birthday' in gold gouache on front front of the card with a little hand-designed flourish (more of a doodle) underneath (see right).


Final 'rough'


As usual the final practice version of the card turned out to be the best one *sigh*, but I set about making four usable cards, each slightly different for the other.


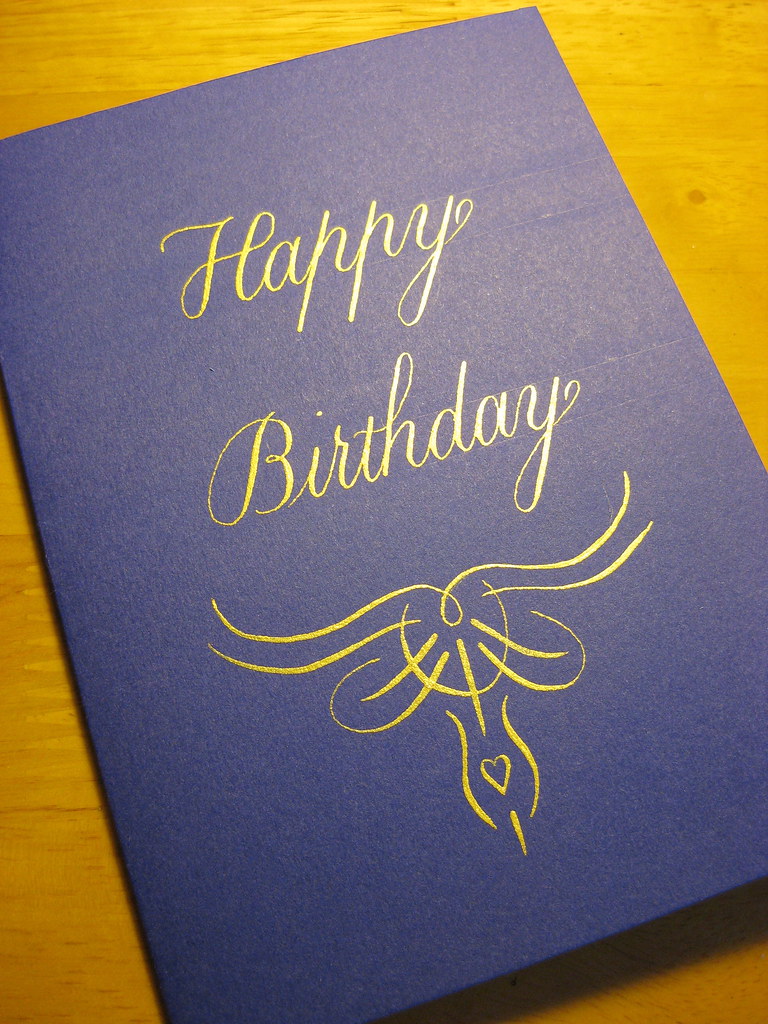
The finished version sent to my sister looked a little like this:
Final version: Schminke Gold Pearl Gouache on Purple card, done with a Brause 66EF nib
(in fact it looked suspiciously like that!) the final four can be seen here in the gallery.
 

Monday, 11 July 2011

Constable Country...

 Last weekend I spent a very enjoyable weekend on the 'Calligraphy for Beginners and Improvers' course run by the Field Studies Council at their Flatford Mill Centre in Suffolk. Our tutor for the weekend was the wonderful Gaynor Goffe who gave us her undivided attention for several hours each day, and led the more novice of us through several experiments in calligraphic variations and also in the use of colour.


My own efforts were focused on developing my Italics, and one of the very first things Gaynor got me to do was completely change the mechanics of how I write. She got me writing with a far more sweeping gesture moving the whole arm instead of just flexing my fingers. This is wonderful for developing rhythm, but makes you lose most of your control at first (at least that's my excuse).

A new technique (click for bigger)

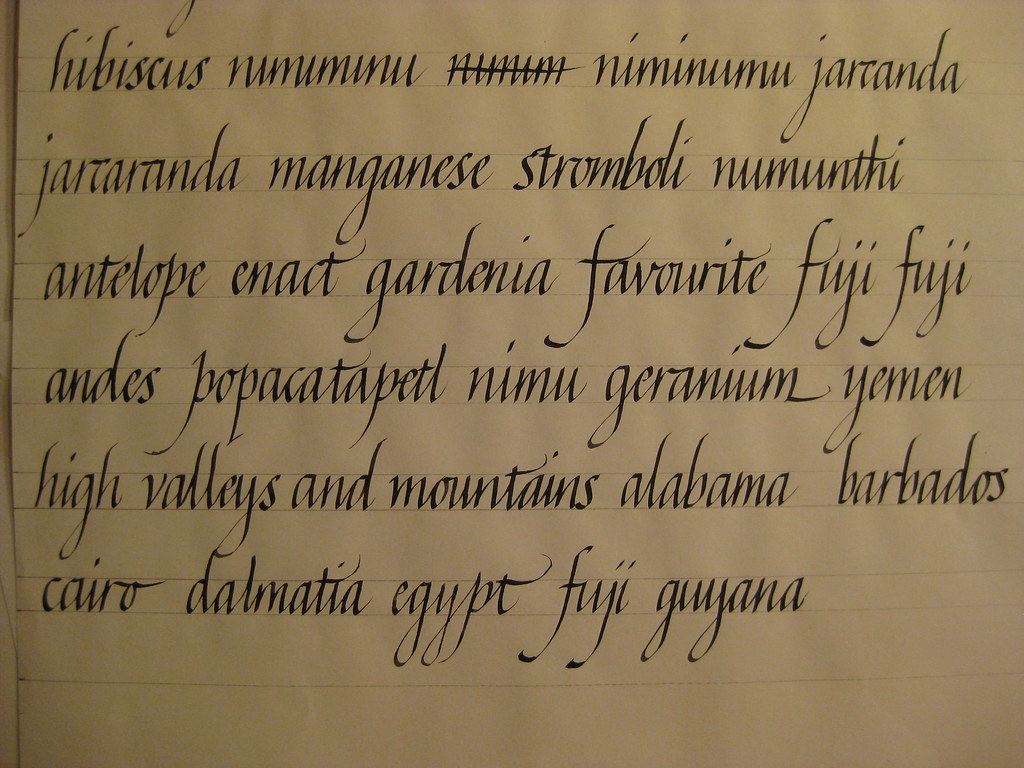
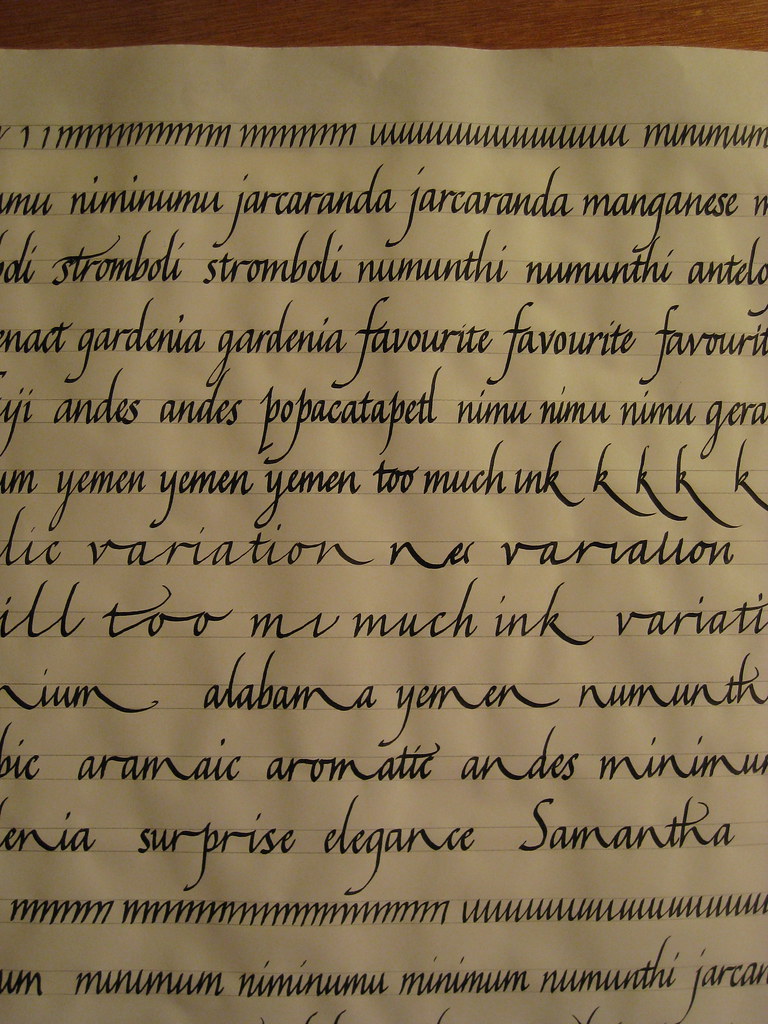
 Pages of practice ensued (I got through a small rainforest) the one on the right being a better example from when I'd regained a modicum of control. Basic concepts were taught and practised using a relatively large nib (2mm), but as we became more proficient we were encouraged to move on to smaller sizes, and then on to italic variations.
Smaller nib size, and some variations


The main variations included sharpened italic, variations in proportion and spacing,  and finally variations produced by picking certain letters, or groups of letters, and consistently extending them (see left).


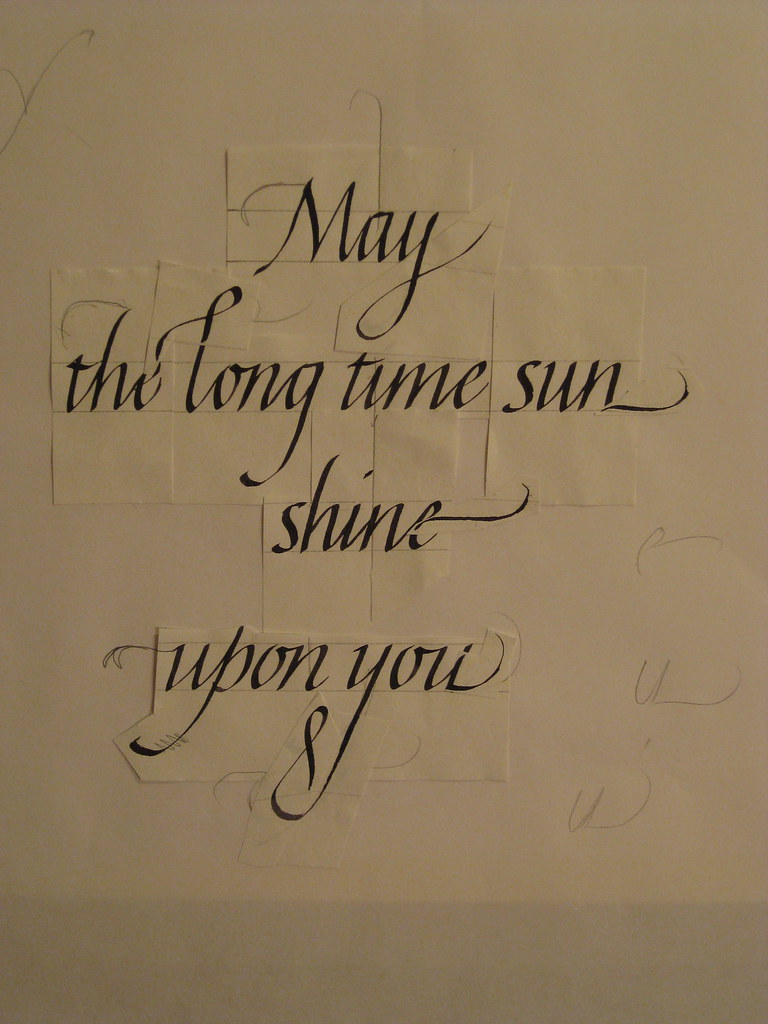
Flourishing (paste-up)
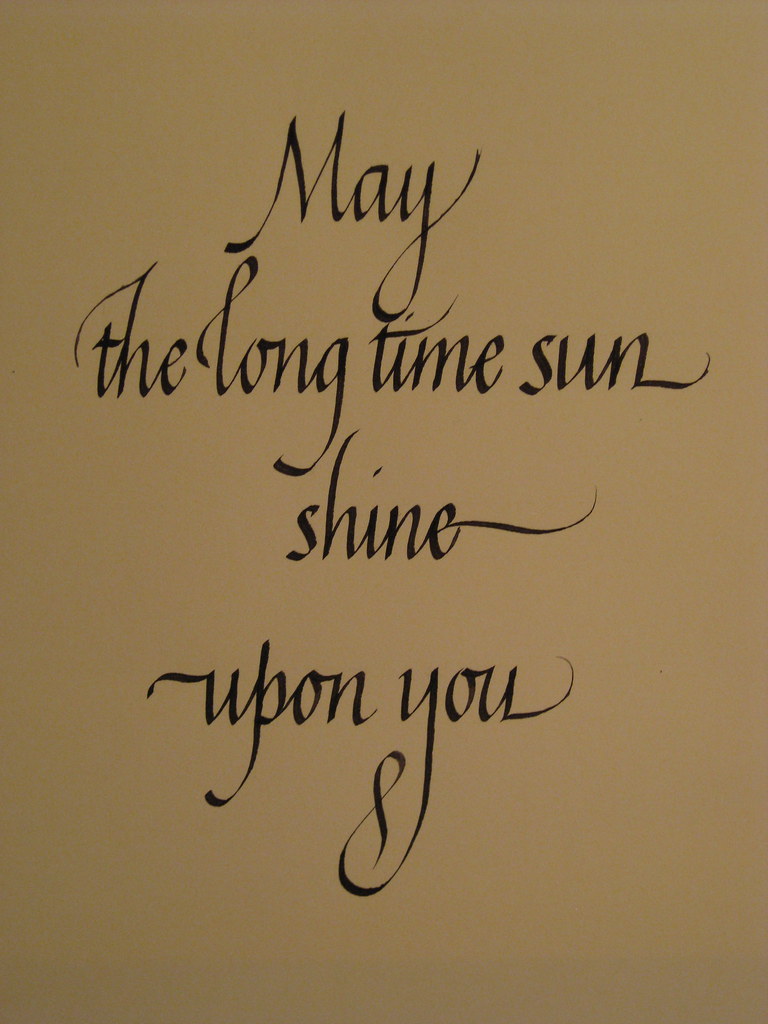
Hot on the heels of these Gaynor went through adding some flourishes with me - this was by far the most engaging and enjoyable part for me, and steep learning curve in terms of what works and what doesn't (and which flourishes work in combination with others). To the right is a paste-up of the my favourite piece or work from the weekend. As well as a considerable amount of technical tuition, I also learnt heaps of tips and tricks for ruling up, laying-out and centring pieces of work. As you can see from the picture, all the individual flourishes are pasted on - this allowed to me play around with different combinations of flourishes without having to write the piece out hundreds of times. The finished piece, I think deserves a big picture all of it's own.

Flourishes - final version
The weekend was incredibly intense - every time I felt I'd got a handle on one thing we were whisked on to the next, but it was definitely the best use of the time available;  if you wait until you've perfected one thing before trying something else, you'll basically never get past step one. Gaynor persuaded us to lay aside fears of 'getting it wrong' and got us to just give new things a go. Sometimes it worked, sometimes it didn't, but I learnt something from everything I tried. The challenge over the next few weeks is to re-visit all the things we covered during the course and try to consolidate it all.

Oh, and Flatford Mill is a beautiful place for a course like this!